Supplies: Light switch plate, Mod Podge, scrapbook paper, scissors, X-acto knife, foam brush
Time: 15-20 minutes plus time to dry
I recently got a comment from my friend Lisa telling me how she loved the paper patterns I use and I wanted to make something for her with pretty paper. So, Lisa, if you like this it’s all yours! Consider it a bonus wedding present! Today’s project is a jazzed up light switch plate made with the most gorgeous paper I’ve ever seen. I think I would paper a wall in the stuff (one wall- as an accent).
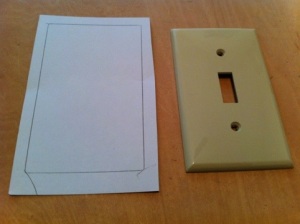
Start by tracing a light switch plate onto the back of your paper. Then cut around the shape you just traced. The sides of the plate curve a little, so you want to make sure you leave about 1/4″ around each traced line (see picture).
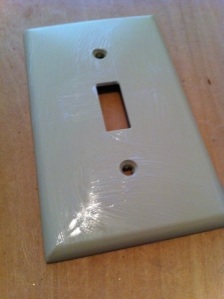
Then brush the top of the plate very lightly with Mod Podge. If you use too much you can get air bubbles under your paper and that does not look lovely.
Place the cut paper on top of the plate and smooth it out. Don’t bother folding the paper over the sides at this point. Let it dry completely first. This also reduces the chance of air bubbles. When the first part is dry you can apply Mod Podge to the edges of the plate and fold the paper over.
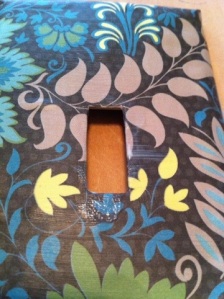
When the edges are dry it’s time to cut the holes. Use an X-acto knife to cut a rectangle from the paper slightly smaller than the plate’s opening for the switch. Glue those edges down.
Use an X-acto knife to cut slits in the paper above the screw holes and press the spare paper in with a pencil. This part doesn’t have to look beautiful because there will be screws covering it.
When all the Mod Podge under the paper is completely dry you can apply light layers of it on top of the paper for a nice finished look. Hang your new light switch plate on the wall and enjoy your awesome new room decor!
So what do you say Lisa? Do you want it? Happy crafting!
~Alie


